Monday, March 16, 2015

17 Freezer Meals for Quick & Easy Dinners

Ok ladies....  I won't go into why it's so awesome to make freezer meals because you probably already know!  We don't have kids yet and I find it extremely convenient and it makes my life easier having freezer meals ready and prepared, so, I can only imagine how helpful it would be with kids and a family.  1 day of work can save you hours of time in cooking and prep everyday.

I am going to get right down to the recipes.  I made these recipes with only my husband and myself in mind, so adjust the amounts for your larger family.  I spent $90 total and was able to get 17 meals, which breaks down each meal to just over $5, for 2 people!  Talk about savings!  I did use coupons and bought items that were on sale, and the 2 lasagnas I made make up for 12 of the meals alone.  

*You will notice on some of the meals that I have made a note to add the chicken/beef.  That is simply because I didn't feel like opening up the chicken and I just left it in the freezer.  I buy the individually wrapped frozen chicken breasts from Costco so it's easy to just open a 2 pack and add it in.

Crock Pot Beef Fajitas 

*this recipe will make 2 freezer meals.  Just prep everything and then divide into 2 separate freezer bags)

2lb beef (1lb per freezer bag)
1 green bell pepper (1/2 pepper per bag)
1 yellow bell pepper (" " " ")
1 red bell pepper (" " " ")
2 onions (1 onion per bag)
2 tsp chopped garlic (1 tsp per bag)
1 - 16oz World Harbor Fajita Marinade ($1.99 Kroger) split the marinade in half in each bag
2 tablespoons Worcestershire sauce
1/8 tsp cumin per bag
red pepper flakes (I use 1/2 tsp but it depends how hot you want yours to be)
2 limes (juice from 1 lime per bag)
salt & pepper


Other items needed for day of dinner:
-Tortillas
-Mexican Cheese
-Rice & Beans
-sour cream


Crock Pot Chicken Marsala
2 boneless skinless chicken breasts (I buy mine at Costco)
1 onion sliced
Campbells Marsala Skillet Sauce packet (complete sauce packet with mushrooms)
6 gold potatoes (small ones) halved
pepper
No salt added due to the sauce packet having salt in it

*you can swap out the potatoes for rice)


Crock Pot Beef Stew
1lb of beef 
1 celery stalk cut into pieces
2 carrots chopped or you can use 1/3 bag of mini carrots
6-8 gold potatoes halved
1 onion
1tsp garlic
1 can cream of mushroom soup
1 can tomato paste
salt & pepper
1 packet beef stew seasoning

*I add in 1/4 cup red wine on the day that I cook it)

Other items needed for day of dinner:
-Rolls, biscuits or bread


Crock Pot Honey Mustard Chicken
2 boneless skinless chicken breasts
1 onion sliced
1 tsp garlic
1 tsp paprika
1/3 cup Dijon Mustard
1/4 cup honey
1/8 tsp dried mustard
salt & pepper
8 gold potatoes halved

Other items needed for day of dinner:
-Rice (take out potatoes and use rice instead)


Meat Lasagna
Lasagna noodles (9)
Roll of Italian sausage (I use Kroger but you can use Bob Evans or whatever you can find)
8oz Low Fat Cottage Cheese
8oz Part Skim Ricotta Cheese
1/2 cup Parmesean Cheese (reserve 1/4 cup for top of lasagna)
1 cup Mozzarella shredded cheese (reserve 1/3 cup for the top of lasagna)
1 large jar marinara sauce (or whatever spaghetti sauce you like)
1/2 tsp dried oregano

*I pre-cooked the sausage prior to putting together the lasagna

Other items needed for day of dinner:
-Steamed broccoli
-small side salad

Bake at 350 for 1 hour

*Each lasagna gave me 9 LARGE pieces of lasagna or 12 smaller pieces
*I froze these in tupperware containers - 2 pieces in each


Veggie Lasagna
Lasagna noodles (9)
8oz Low Fat Cottage Cheese
8oz Part Skim Ricotta Cheese
1/2 cup Parmesean Cheese (reserve 1/4 cup for top of lasagna)
1 cup Mozzarella shredded cheese (reserve 1/3 cup for the top of lasagna)
1 large jar of marinara sauce (or whatever spaghetti sauce you like)
1 yellow squash sliced
1 zucchini sliced
1 onion
1 cup spinach
1/2 tsp dried oregano
1 tsp garlic
salt and pepper

*I sauted all of the veggies prior to putting together the lasagna

Other items needed for day of dinner:
-bread or rolls

Bake at 350 for 1 hour

*Each lasagna gave me 9 LARGE pieces of lasagna or 12 smaller pieces
*I froze these in tupperware containers - 2 pieces in each


That's all folks!  I hope you love these recipes as much as I do!
Happy cooking!


Friday, January 23, 2015

Chicken Enchilads you will LOVE!

I have always been intimidated by making Mexican food!  I don't know why..... probably just because I didn't grow up with it and the only "Mexican" I knew of when I was young was the colorful and extremely Americanized version at "Chi-Chis" restaurant (remember that place?!). 

I couldn't find a recipe that I liked for enchiladas so I decided to just create my own version.  My husband loved it and I was happy with how it turned out, not to mention, it was super easy to prepare!

Ingredients (the below recipe will give you 5 servings)

2 boneless skinless chicken breasts
1 onion - diced
1 small can of green chilies
1 can of diced tomatoes with jalapenos
1tsp of chopped garlic
2 tbsn olive oil
1 1/2 tsp salt
1 tsp pepper
1 tsp cumin
1tsp paprika
5 tortillas
1 packet of enchilada red sauce (this can be found either in jars, cans, or sauce packets)
Rice
1 16oz package of shredded quasadilla cheese (or any kind of mexican blend you like) divided

Here's what you do.......

I had frozen chicken breasts so I just threw them in my crockpot on low in the morning and let them cook all day (6-8 hours on low or 4-6 hours on high).  I like to do it this way when I am making something with shredded chicken, because once the chicken in the crock pot is done, it shreds itself and is moist and tender. 

If you don't want to crock pot it, you can boil the chicken or saute it.... whatever you like! 

Next, saute the garlic and onions in olive oil in a pan until tender.  Then, add in your tomatoes and green chilis.  Simmer on low heat.

Add in your seasonings: pepper, salt, cumin and paprika.  Mix these spices into your onion mixture that is simmering on the stove. 

Next, add in your shredded chicken to the onion mixture.

You are almost done!! 

Heat up your tortillas for about 30 seconds in the microwave.  This makes them more pliable so they don't crack when you roll them.

Then, lay out a tortilla and spoon some chicken/onion mixture onto your tortilla.  Add some cheese and then roll up and place in your baking dish.

Repeat for all 5 tortillas.

Once all of your tortillas are filled and rolled, pour the red enchilada sauce over the tortillas, spreading evenly.

Then, top off the entire dish with the remaining cheese.

 Bake at 350 for 30 minutes.  After 30 minutes, I like to turn my oven on "broil" and burn the top of the cheese slightly.  This step is not crucial, but in our house, we like color on our cheese!  It is critical during this step though, that you stand at your oven and watch - using the broiler can be an amazing thing if done right, but, 5 seconds too long and you could burn your entire dish (I know this from experience!).  Once there is color on your cheese, remove it immediately from the oven.

*When my enchiladas are in the oven for the 30 minutes, I make my rice.  The rice will be the "bed" of the dish, and the enchilada will be served on top of it.

You can use spanish rice, mexican rice, white rice, brown rice - whatever your little heart desires!

Plate your yummy cheesy enchiladas and rice and enjoy!


Tuesday, October 14, 2014

Baked Apple Blossom with Caramelized Topping

I love anything apple.  Especially in the fall!

I found this recipe for a baked apple and I tweaked the recipe a bit with ingredients that I love.

I hope you love it as much as I do!

Ingredients:
2 Honeycrisp apples (or other crisp apples)
2 tbsp butter
3 tbsp brown sugar
1 tbsp flour
1 tsp cinnamon
1/4 cup chopped pecans
4 caramels
    First, cut off the top of your apple.


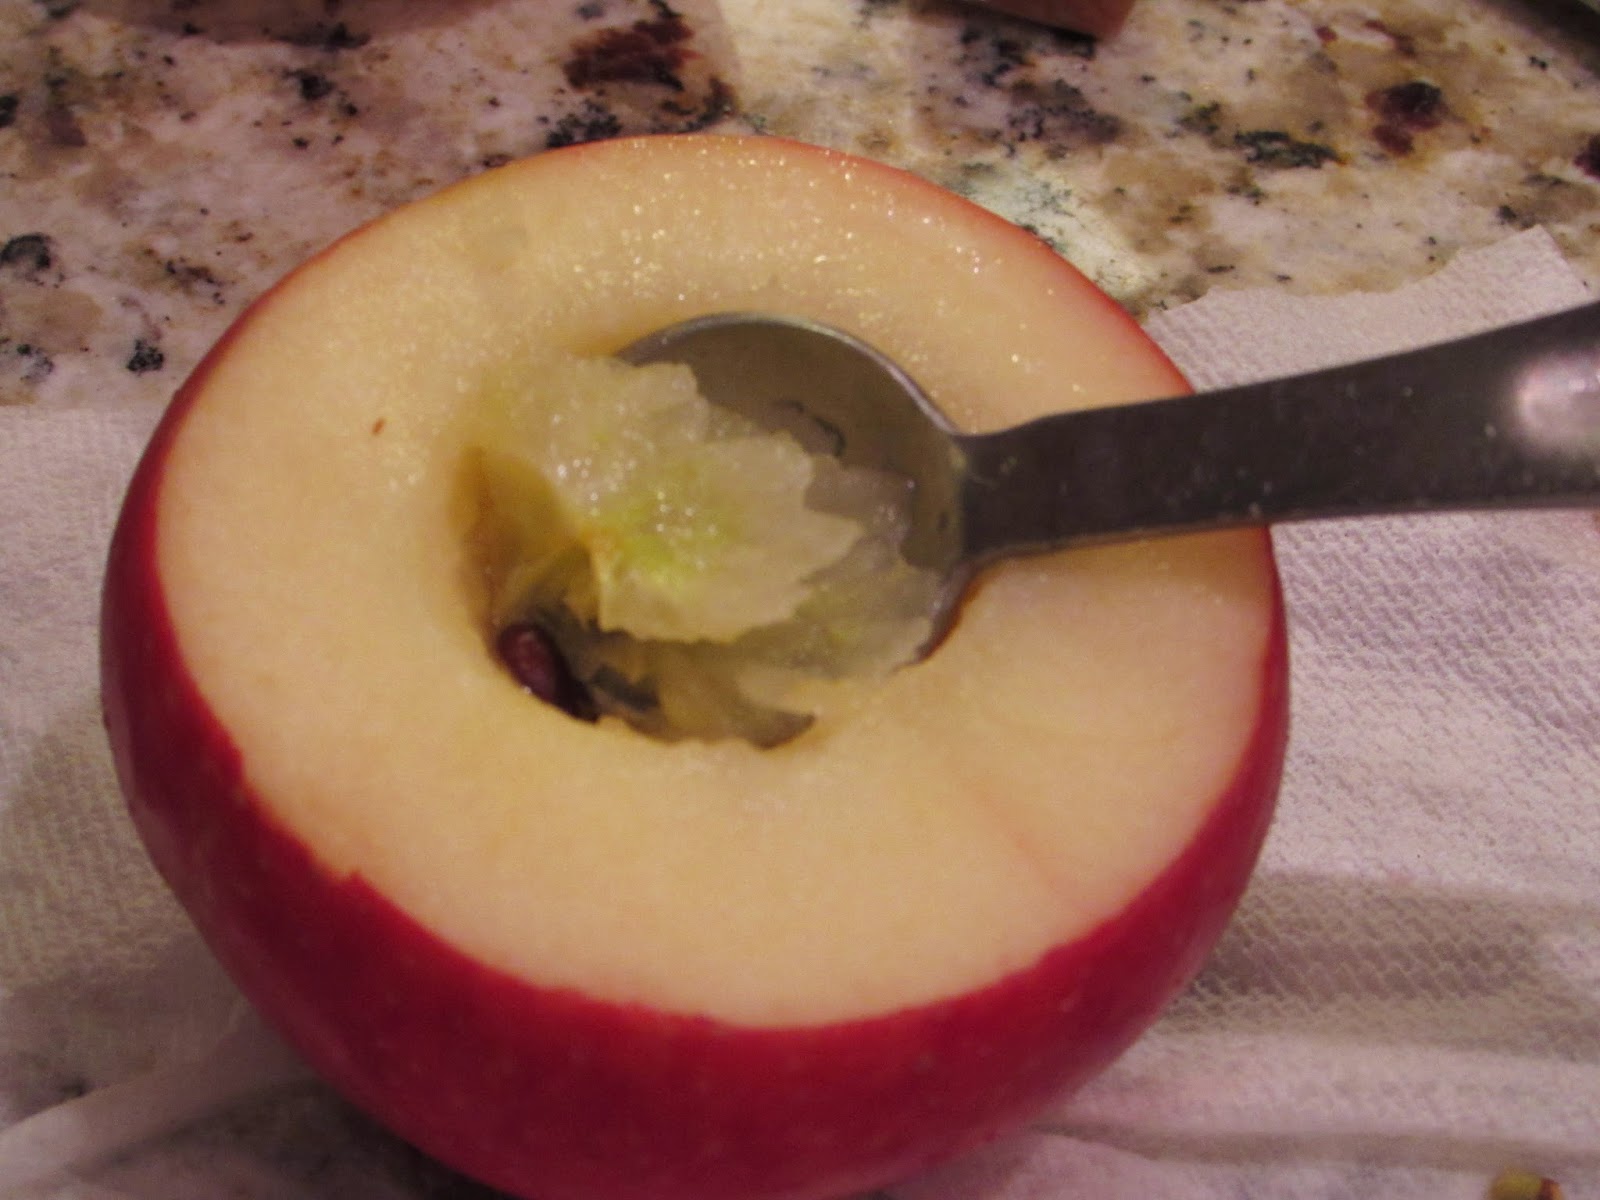
    Next, cut out the core of the apple.  I used my metal measuring spoon to remove the core and seeds which worked perfectly.


    Then, take a sharp knife, and carefully make 2 narrow cuts around the perimeter of your apple like pictured below. 


    Next, flip your apple over and with your sharp knife, cut lengthwise slits around the entire apple like show below (up and down slits).


    When you are finished, your apple will look something like this.  Doing this creates the "blossom" effect for your apple.  So when it's all cooked, you can push down at the top of your apple to "bloom" it open!


    Next, place 2 caramels in the center of your apple.


    Place your apples in an oven safe dish.


    You are almost done!  Now you just need to make the delicious topping, which in my book, is the BEST part!

    Melt your butter and brown sugar in a microwave safe mug.  I melted my butter/ sugar mixture for 20 seconds, took it out, stirred it, and then put it back into the microwave for another 20 seconds.

    Then, add in your flour, cinnamon, and chopped pecans.  Stir everything together right in the mug.


    Top your apples with the brown sugar mixture.


    Bake at 375 for 35 minutes.

    When you are done, your caramels will be melted on the inside, and your pecan sugar mixture will be warm, gooey, caramelized and oh so delicious!  


    I serve mine with a scoop of fat free whipped topping on the side!


    Dig in!

    Such a warm and delicious part of autumn that you won't want to miss out on!


    Friday, September 26, 2014

    Welcome to the Lake!

    Hello friends!

    I've had people ask me for awhile now to do a house tour so I finally am taking the time to take some recent pics to show you around.  Most of the pictures are very recent either from this summer or from today, September 26th, 2014.

    Come and check out the lake house with me!

    This is the outside of the house this summer with a fresh coat of paint on the shutters, front door and house trim.  The picture below that is the maple tree in the front yard.


    The pictures below are pictures of around the house and yard.  The first picture is the black walnut tree that sits just outside of our bedroom window.  The squirrels from this tree are very entertaining for our dog, Max, all throughout the year!  We have the lights on a timer so they go on at dusk and stay on throughout the night.

    There are a few pictures of our back deck area and the side of the house as well.


    Below is what I lovingly refer to as "the stairway to heaven".  They are the steps down to the lake and dock area.  We built these steps back in 2011 and have 2 landing areas with benches so we can rest on the way up.... boy is it a hike! 

    Above are pictures of the 2 legged feathered friends that come to visit us down at the dock!  Love feeding these guys! 

    Below is a corner in our dining room.  It's just a little nook with a small fireplace next to the patio doors that lead out back.  It's fall so I have it decorated for the holidays.


    These are pictures from our dining room area. 


    The pictures below are of our great room area.  There is another fireplace in there along with our grand piano.


    This is a picture I made on canvas that is hanging in our great room.  I love this picture and every time I see it, it reminds me of God's love for me.   <3


    More pictures of the great room area all decorated for fall.....


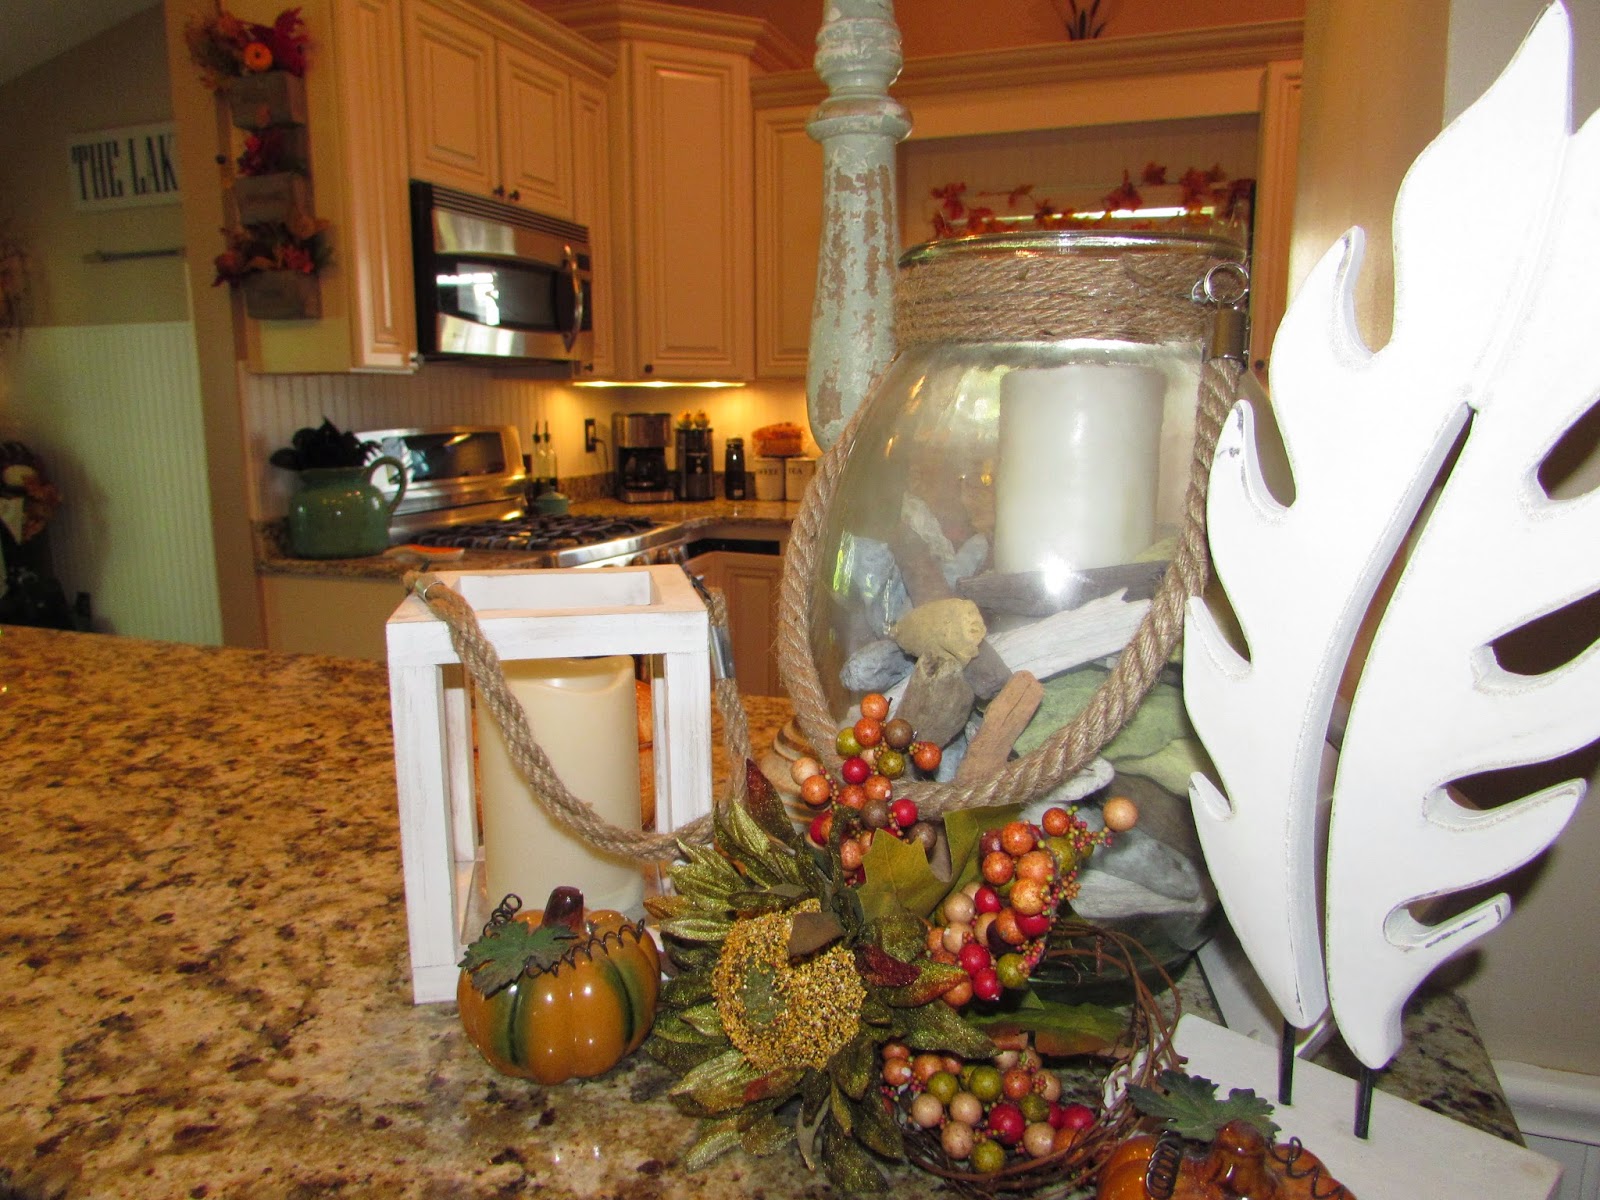
    And now.... one of my favorite rooms in our home ...  our kitchen.  When we moved in back in 2010, we took down the wall between the living room and the kitchen to make an island.  We also relocated a washer and dryer to down stairs which opened up room for the fridge/pantry area.


    These curtains are one of my very first sewing projects ever!  I remember it took me like 2 days to make them!  The bottom brown fabric is actually a table cloth.  The only thing I did not do when making them was I did not line them.  It's something I will probably go back and do so you can't see through the brown fabric but other than that, I love how they turned out! 


    I found this awesome vase thingy at Kirklands in Toledo.  I fell in love with it!


    I bought this picture from Kirkland's in Toledo, too.  It is HUGE!  It hangs above our bed in the master bedroom.  When I look at it I feel like I can feel the breeze blowing through the white curtains and I can hear the sounds of the waves from the ocean.  One of my favorite pictures of all time!


    The above picture is Max on squirrel patrol.  This is one of his favorite perches in the house. 

    The below picture does say poop.  You are not reading it wrong.  It hangs just above the toilet in our main bath.  :)

    The  other pictures are of our main guest bathroom.  I remodeled this bathroom in 2013 when my husband went on a work trip for 6 weeks.  It took me most of the 6 weeks to gut the bathroom, research everything on google because I had NO CLUE how to do any of it, and then put everything back in.  The bathroom was painted, tiled, and replumbed.  I added in  new vanity, new lighting, wainscotting, new tile floor, and a new toilet.  I was pooped, no pun intended, when I was done but it turned out pretty well.


    Below are pictures of my shop.  The window seat is Max's favorite spot in the entire house! 


    Below are a few oars hanging around the house.  If we ever had an intruder, they wouldn't stand a chance.  There are oars around every corner in this house!  :) 


    And there you have it!  A tour of the lake house!  Hope you enjoyed yourself!

    Welcome to the lake!